


Water Cycle Bracelet Materials {per child}:
1 white pipe cleaner
1 yellow bead
1 clear bead
1 white bead
1 blue bead
1 green bead
On my Smart Board I displayed an image of the water cycle with each step labeled. I used the Whimsical Weather unit from A Cupcake for the Teacher. As we discussed each process of the water cycle we added the appropriate bead to our pipe cleaner. To finish, I rushed around and twisted the ends of the pipe cleaner to make a bracelet. It's a good hands-on visual for the little ones.
This week we watched the water cycle video on Brain Pop Jr. and checked out all of the information on our science fair display. {Again, I used elements from the Whimsical Weather unit.} We also completed our rain in a cup experiment.


Rain in a Cup Materials {per group}:
1 clear plastic cup
water
Barbasol shaving cream
food coloring
straw
*In my test experiment at home I first used a Dollar Tree brand shaving cream... let's just say it didn't work so well. The Barbasol brand worked much better.
Directions: Add water to each cup {about 3/4 full}. Next, add shaving cream to the top. {To help move the process along, use a straw to make a thin spot in the shaving cream.} Last, add food coloring to the shaving cream. Within a few minutes, the food coloring will break through from the shaving cream and fall into the water. {Like when clouds get so heavy they have to release the weight as rain.}
Our weather study experiment will be on display at our school's science night. Along with all of the displays from other classes, there will be hands-on science activities for the students to do with their families. It should be a fun night!
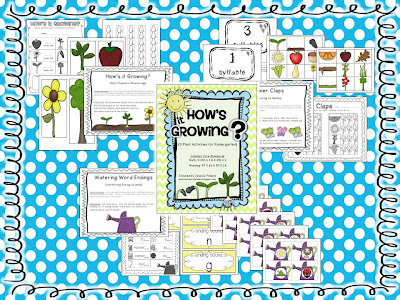
Next up, plants! Here is my latest little kindergarten unit available in my TPT store.
Tomorrow I get to attend a professional development with Dr. Jean! So excited! :)